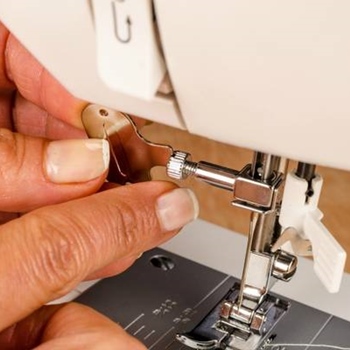
It’s one of the most frustrating things beginner dressmakers come across – you’re sewing, minding your own business when you hear that loud BUZZ from the machine, and suddenly the needle’s just not moving anymore. You tug on the project, but it’s stuck, and once you fold it up to see what’s going on, you see that horrible, terrible bunch of jumbled up thread peeking at you from below. The needle’s stuck, the project’s ready to tear if you pull hard, and you’re on the verge of a breakdown.
Don’t despair! You may have to rip and re-do some seams, but this issue looks way more complicated than it actually is. Unjamming your sewing machine is simpler than you think. So, take a deep breath, read on, and then grab a pair of scissors so you can continue your creative work.
How to Unjam Your Sewing Machine
 First things first, you should turn your sewing machine off. You’ll have your hands right in the needle’s path, so do yourself a favor and do it safely – by turning the machine off and/or unplugging it.
- Raise the presser foot, and use the flywheel to lift the needle to the highest position. Always turn the flywheel towards yourself. If you’re not sure how to do this stuff, check out my intro to sewing machine anatomy.
- If the needle’s not budging, try turning the flywheel back and forth to see if it loosens up. The most important thing is that you get the needle out of your project. If it’s still stuck, try to pull the thread that’s connecting the needle and your project. You simply need to cut the thread to set the needle free.
- If your project is not completely stuck on the needle plate, tug it gently to move it. When it moves at least a little, grab your scissors and cut off the bobbin thread. In case you can’t move the project at all, fold the fabric up so that you get access to the accessory box. You might notice that the thread from the bobbin made your seams all jumbled up. This is unfortunate but very common – it points to an issue with thread tension settings.
- In the case you managed to remove your project, you can use your scissors to cut away any bunched up thread that’s peeking over your needle plate. Simply move on to the next step if your project is still stuck.
- Remove the accessory box to expose the bobbin case. Use scissors to cut all tangled threads that come in the way. Then, try to remove the bobbin case from its position, and then take the bobbin out of the case too. Cut and remove any loose thread you come across along the way – chances are there’ll be plenty, especially at the top near the needle plate.
- You should be able to remove your project with no issues now. Make sure all loose thread is removed.
- Put your bobbin case back into the machine, and thread your top needle. You can continue sewing as usual now.
Prevent Future Jams
In most cases, a thread jam like this happens because the thread tension settings are not appropriate for your project. Don’t worry – this is easy to prevent, even on a beginner sewing machine. To avoid future jams, you simply need to adjust the thread tension, and you’ll be ready to continue sewing in no time. I explained how to set up your tension in this blog post about sewing machine troubleshooting.
Wrap Up
There you go – thread jams are nothing to lose your cool over. This problem is luckily easy to fix, but it’s also easy to prevent. Over time, you’ll master thread tension settings (honestly, this took me a while to figure out) and then you’ll likely never come across an issue like this again.
I hope my explanation was clear and straight to the point. If you have any questions left, or you simply need to blow off some steam after a thread jam, don’t hesitate to leave a comment in the box below, and I’ll get back to you as soon as I can!
